Affiliate disclosure: some links on this page go to Amazon. If you buy through one we may earn a small commission, at no extra cost to you. Full disclosure.
The single biggest improvement isn’t the camera — it’s the perch. Stake an attractive natural branch a foot or two from the feeder and focus on that instead. Birds land there before hopping across, and you get a photo with no plastic feeder in it. Then: shutter speed 1/1000, widest aperture, auto ISO, and shoot from indoors.
Garden bird photography is one of the few kinds of wildlife photography you can do properly from an armchair. The birds come to you, they come repeatedly, and you can control almost everything about the setting.
Most beginner photos fail for the same handful of reasons, and all of them are fixable without spending anything.
The five things that matter most
- A natural perch near the feeder — the trick behind most good garden bird shots
- Shutter speed 1/1000 or faster — birds move more than you think
- Distance behind the bird — gives the blurred background
- Shoot from indoors — your house is the best hide you own
- Get low — eye level beats looking down
The perch trick
This is the thing that separates snapshots from photographs, and it costs nothing.
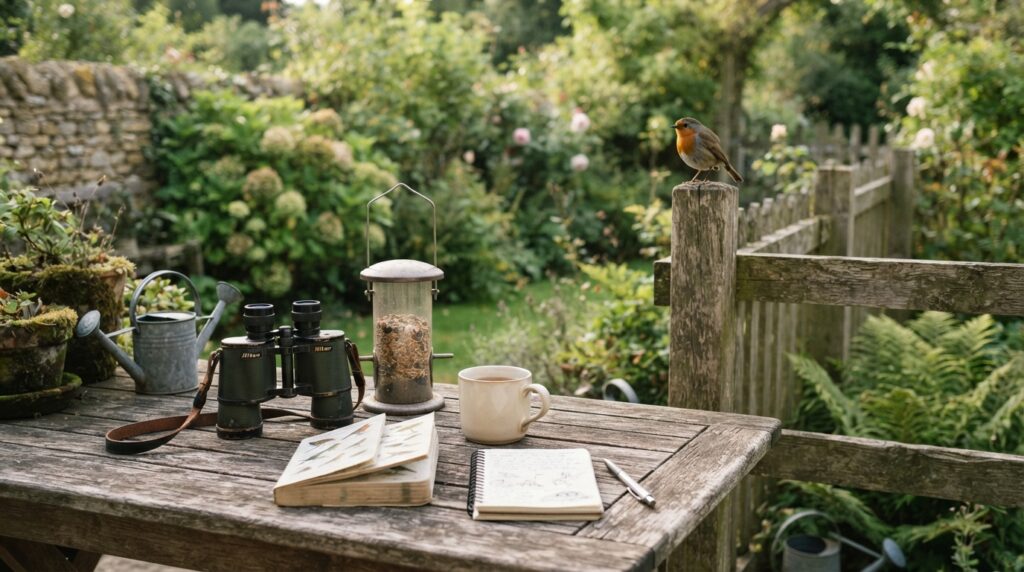
Birds rarely fly straight to a feeder. They land somewhere nearby first, check the area is safe, and then hop across. If you provide that staging post, you control exactly where they pause.
How to do it:
- Find an attractive branch — lichen-covered, mossy, or with a few berries or blossom depending on season
- Stake or clamp it upright about 30–60cm from the feeder, at a similar height
- Position it so the background behind it is as far away as possible
- Focus on the perch, not the feeder
- Wait
Within a day or two most birds will be using it routinely. You get a bird on a natural branch with a soft background, rather than a bird clinging to a plastic tube.
Change the perch seasonally — blossom in spring, berries in autumn, frosted twigs in winter. Same setup, completely different photographs.
Background matters more than the subject
The most common reason a garden bird photo looks amateurish isn’t the bird — it’s a fence panel, a shed or a wheelie bin two feet behind it.
The rule: the further the background is from the bird, the more it blurs. A perch with twenty metres of garden behind it produces a soft wash of colour. The same perch a metre from a fence produces a photo of a fence.
So when you’re siting the perch, look through the camera and check what’s behind it before you decide where it goes. Moving the whole setup two metres often transforms the results.
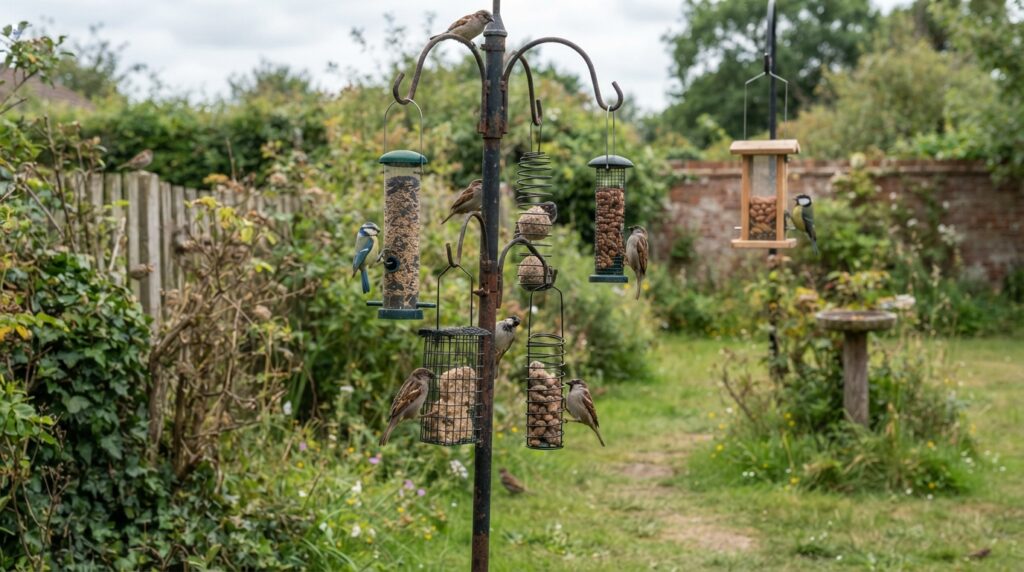
Bear in mind you still need sensible feeder placement — about 2m from cover, 1.5m up, 3m from squirrel launch points, and either within 1m of a window or beyond 10m to avoid strikes.
Settings
| Setting | Use | Why |
|---|---|---|
| Shutter speed | 1/1000 or faster | Small birds move constantly. 1/250 will give you blurred heads |
| Aperture | Widest available (lowest f-number) | More light, and a softer background |
| ISO | Auto, with a cap around 3200 | Lets the camera cope with changing light without you fiddling |
| Mode | Shutter priority, or manual with auto ISO | Keeps shutter speed locked, which is what matters most |
| Focus | Single point, on the eye | A photo with a sharp eye works; one without doesn’t |
| Drive | Continuous / burst | Take five, keep one. That’s normal |
If you take one thing from this section: a slightly noisy photo at high ISO is fine, a blurred one isn’t. Prioritise shutter speed over everything.
Shooting from indoors
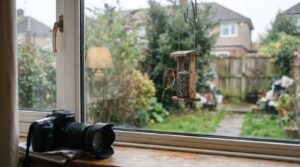
Your house is a better hide than anything you can buy, and birds are far more relaxed than they’d be with you standing in the garden.
- Clean the glass, inside and out. Obvious, and it makes a visible difference
- Open the window if you can — glass costs sharpness and can add colour casts
- Get the lens close to the glass if you can’t open it, and shoot straight through rather than at an angle
- Turn off lights behind you to avoid reflections
- Rest the camera on a beanbag, a folded towel or a cushion on the windowsill. Far more practical indoors than a tripod
- Stay still — movement behind glass is what birds notice
Height and light
Get to eye level. Shooting down at a bird from a first-floor window rarely works. Set the perch at roughly the height of wherever you’re shooting from, or shoot from a ground-floor window with the perch a bit lower than usual.
Light: early morning and late afternoon are softer and warmer than midday. Overcast days are genuinely good for bird photography — even light, no harsh shadows, no blown-out white feathers.
Have the sun behind you where possible, so the bird is lit rather than silhouetted. Worth thinking about which window you shoot from at which time of day.
What camera you actually need
Honest answer: less than you’d think, and the perch matters more than the gear.
A bridge camera with a long zoom
The most practical entry point. A superzoom bridge camera gives you enormous reach in one unit, needs no lens changes, and costs a fraction of an interchangeable-lens setup.
Trade-off: smaller sensors mean more noise in low light and less background blur. For bright garden work at a set perch, that matters less than you’d expect.
A mirrorless or DSLR with a telephoto lens
Better image quality, better in low light, better background blur, and considerably more expensive.
Focal length: 300mm is a sensible minimum for garden birds; 400mm or more is comfortable. Below 200mm you’ll struggle unless the perch is very close.
If you’re buying into this, put the money into the lens rather than the body. An older body with a good long lens beats a new body with a short kit zoom for this purpose, every time.
A phone
Genuinely limited for birds — even a good phone telephoto is short, and digital zoom degrades quickly. But a phone held to the eyepiece of binoculars or a scope can work surprisingly well, and there are inexpensive adapters for exactly this.
Support
A beanbag on a windowsill is more useful indoors than a tripod, and much cheaper. If you do use a tripod, a fluid or gimbal-style head is far easier for tracking birds than a standard ball head.
Doing it ethically
Worth stating plainly, because the pressure to get a good shot leads people into things they’d otherwise avoid.
Never photograph at a nest. Disturbing nesting birds is an offence under the Wildlife and Countryside Act 1981, and some species have additional protection making even reckless disturbance an offence. Photographing at a nest without the appropriate licence is not something to attempt.
- Don’t use flash on birds at close range
- Don’t bait beyond normal feeding, and don’t use live bait
- Don’t chase or flush a bird for a better angle. If it’s flying away from you, you’ve got too close
- Keep the hygiene routine going — a photogenic setup still needs the weekly clean and repositioning. Our cleaning guide covers it
- Follow the seasonal feeding guidance — seeds and peanuts run 1 November to 30 April, with suet and mealworms year-round
A workable first setup
- Feeder in a sensible position, with plenty of open garden behind it
- Attractive branch staked 30–60cm away, at similar height
- Camera on a beanbag at a ground-floor window, sun behind you
- Shutter priority, 1/1000, auto ISO capped at 3200
- Single-point focus on the perch, pre-focused before the bird lands
- Burst mode, and patience
Give it a week. Once birds are using the perch routinely you’ll get more usable photographs in an afternoon than in a month of chasing them around the garden.
Common questions
Why are my photos blurry?
Almost always shutter speed. Small birds move constantly, and 1/250 isn’t enough. Go to 1/1000 and let ISO rise to compensate.
How do I get the blurred background?
Distance and aperture. Get as much space as possible between the bird and whatever’s behind it, use the widest aperture your lens allows, and use the longest focal length you have.
Can I photograph through double glazing?
Yes, though you lose some sharpness and may get colour casts. Clean both surfaces, get the lens close, and shoot straight through rather than at an angle. Opening the window is better where possible.
Do I need a hide?
Not for garden birds. Your house works better, and pop-up hides are more useful for places where you can’t shoot from indoors.
What’s the best time of day?
Early morning — birds feed heavily after the night, and the light is soft. Overcast days are also better than bright sun for even lighting.
Should I buy binoculars or a camera first?
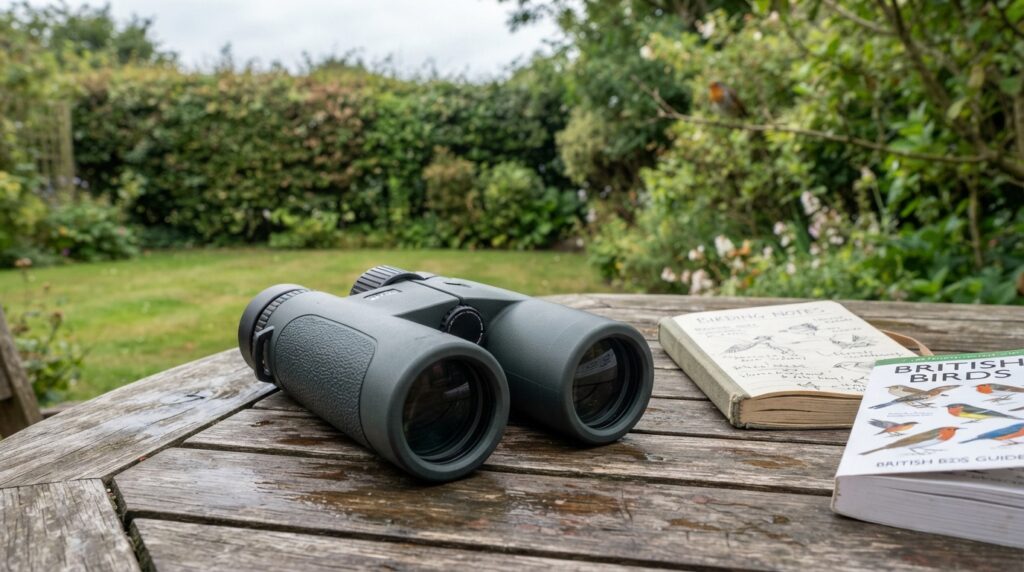
If you mainly want to watch, binoculars — see our binoculars guide. If you want images to keep and share, a camera. They’re genuinely different hobbies that happen to share a subject.
Related guides
- Best binoculars for garden birdwatching
- Common garden birds in the UK: how to identify your visitors
- Best plants to attract birds to a UK garden
- When to feed garden birds: the new UK guidance explained
Sources: Wildlife and Countryside Act 1981 (including Schedule 1 provisions on disturbance at nests); RSPB guidance on wildlife photography ethics and feeder placement; RSPB feeding and hygiene guidance (April 2026). Equipment guidance is based on published specifications and general photographic principles rather than testing of individual models.
Compare anti-collision window decals at Amazon UK. Prices and stock change often, so it is worth checking before you commit.
Browse window decals →