Affiliate disclosure: some links on this page go to Amazon. If you buy through one we may earn a small commission, at no extra cost to you. Full disclosure.
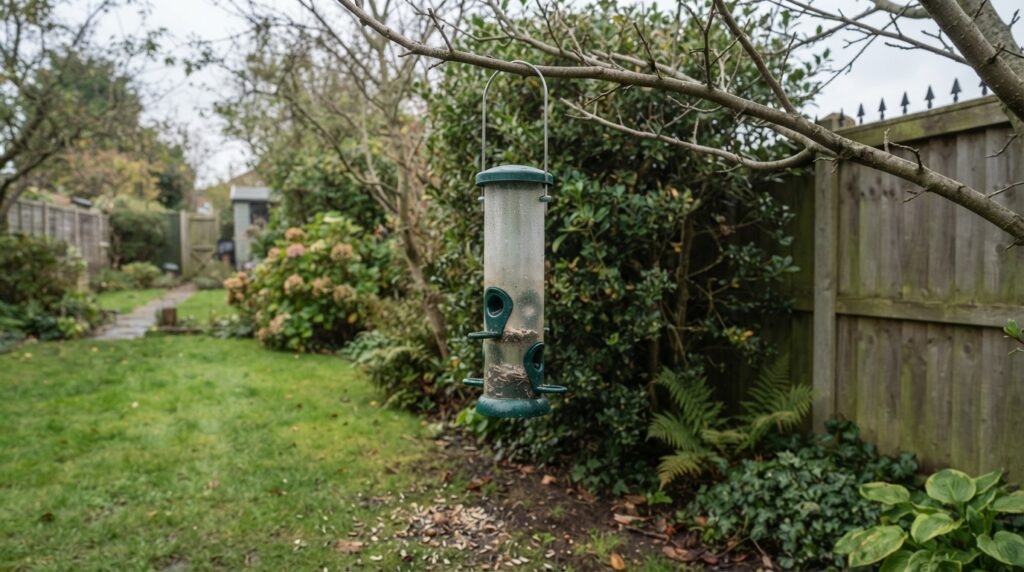
Clean your bird feeders at least once a week. Hot soapy water, then a non-toxic disinfectant, rinse thoroughly, dry completely before refilling — and then move the feeder to a different spot.
That’s a step up from the older advice, which was essentially “clean regularly.” The change came with the RSPB’s 2026 guidance update, and the reasoning behind it is worth understanding, because it’s the difference between doing this as a chore and doing it properly.
The current standard
- Feeders: at least weekly
- Bird baths: water changed daily, bath cleaned weekly
- Method: hot soapy water, then non-toxic disinfectant, rinse, dry fully
- Then: move the feeder to a new position
- Also: clear old food and droppings from the ground beneath
Why it changed
A busy feeder concentrates a lot of birds in one small place, repeatedly, around a shared food source. That’s excellent for watching them and it’s also, unfortunately, an efficient way to move disease between individuals.
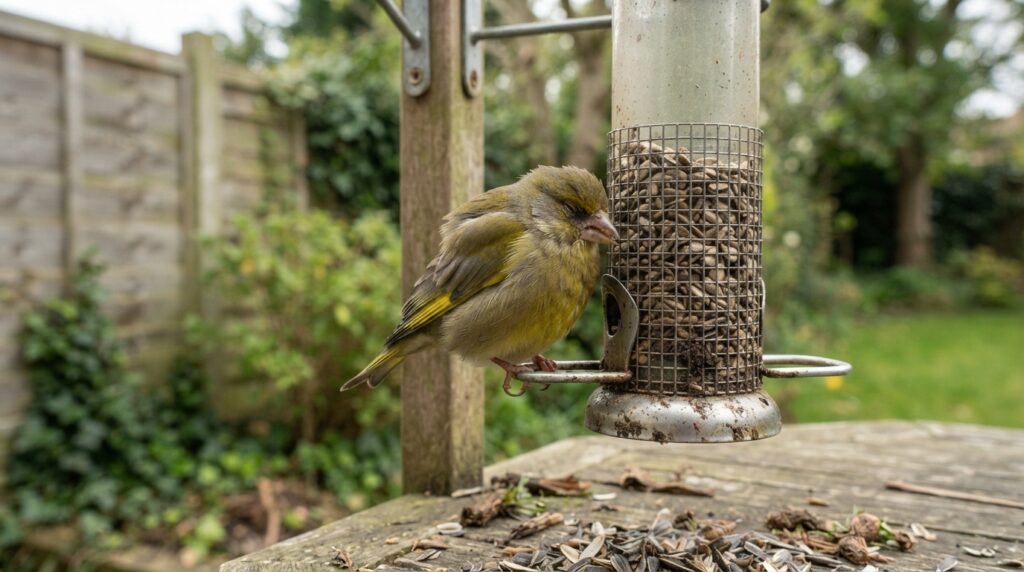
The main concern is trichomonosis, a parasitic disease affecting the mouth, throat and upper digestive tract. It spreads through saliva and regurgitated food. It has driven greenfinch numbers down by around 67% since 1979 — over two million birds — and put them on the UK Red List. Chaffinches have been badly hit, and bullfinches may be following.
The RSPB’s framing is blunt and worth repeating: one infected bird can turn a busy feeder into a disease hotspot.
Other conditions spread the same way — salmonellosis and avian pox among them.
How to clean a bird feeder: step by step
1. Empty it completely
Tip out all remaining food. Don’t tip it onto the ground below — that’s exactly where you don’t want a pile of potentially contaminated seed. Bag it and bin it.
If you’re refilling weekly with quantities being eaten within a day or two, there shouldn’t be much left. If there’s a lot of old seed each time, you’re putting out too much.
2. Take it apart
Fully. Every port, perch, lid and base that comes off should come off. This is where residue hides, and it’s why a feeder that can’t be dismantled without tools is a bad buy.
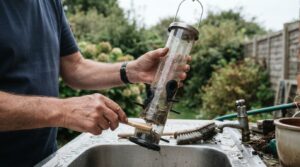
3. Scrub in hot soapy water
Ordinary washing-up liquid is fine. Use a brush that reaches inside the tube — a bottle brush works, and dedicated feeder brush sets are inexpensive.
Pay attention to the feeding ports and perches. That’s where beaks make contact and where transmission is most likely.
4. Disinfect
Washing removes the visible dirt. Disinfecting deals with what you can’t see.
Use a non-toxic disinfectant. The RSPB specifically names Ark-Klens, which is formulated for bird use. A mild 5% bleach solution is the other option it recommends — roughly one part household bleach to twenty parts water.
Leave it in contact for a few minutes rather than dunking and immediately rinsing. Disinfectants need time to work.
Don’t improvise here. Avoid antibacterial kitchen sprays, disinfectants containing phenols, or anything strongly scented. Products safe for household surfaces aren’t necessarily safe for birds, and residues matter when a bird’s beak is in direct contact.
5. Rinse thoroughly
Properly, several times. No disinfectant residue should remain.
6. Dry completely
The step people skip, and it matters more than the scrubbing. Damp seed in a damp feeder grows mould within days, and mould is genuinely dangerous to birds.
Air-dry fully before refilling. If you’re cleaning weekly, this is where owning two feeders pays off — one dries while the other is up.
7. Move it
The instruction most people miss, and one of the more significant additions to the guidance.
Reposition the feeder somewhere else in the garden after each clean. Over weeks, droppings and dropped food accumulate on the ground beneath a fixed feeder. Moving it prevents that build-up becoming a contaminated patch.
Clear the existing debris too — rake or sweep up old seed husks and droppings from underneath.
Bird baths
Water needs more attention than food, because the parasite survives in it.
The current guidance is unambiguous: only offer water if you can change it every day. Use tap water. Clean the bath itself weekly, using the same method as feeders.
If daily changes aren’t realistic for you, it’s better not to offer water at all than to offer standing water that sits for a week.
Keeping yourself safe
Trichomonosis poses no risk to humans. But other things birds carry — salmonella in particular — can, so basic precautions are sensible:
- Clean feeders outdoors, not in the kitchen sink
- Keep a dedicated set of brushes and a bucket for the job, used for nothing else
- Wear rubber gloves
- Wash your hands thoroughly afterwards
- Don’t clean feeders on surfaces used for food preparation
The two-feeder rotation
The single most useful practical tip: own two of each feeder type.
Clean one, leave it to dry fully, and hang the spare in its place. Next week, swap. You never have to rush the drying step, birds never go without, and the weekly clean stops being a job you put off.
It also means you always have a replacement when one cracks in a hard frost.
Signs you’ve left it too long
- Seed clumped together or sprouting
- Any black or green mould, particularly around ports and in the base
- A sour or musty smell
- Thick droppings on the perches
- A film of green algae inside a clear tube
- Birds visiting less than they used to
Any of these means empty, clean and disinfect now — not at the weekend.
If you’ve seen a sick bird
If you’ve seen birds looking fluffed up and lethargic, struggling to swallow, or regurgitating, the response is different. Stop feeding entirely for a period, deep-clean everything, and report the sighting.
Full detail in our guide to sick birds at the feeder.
Common questions
Can I put my bird feeder in the dishwasher?
Some metal feeders tolerate it, but it’s not ideal — dishwasher detergent residue is a concern, plastic parts can warp, and a dishwasher cycle won’t reach inside a narrow tube well. Hand cleaning with a brush is more reliable. If you do use one, run it separately from crockery.
Is weekly really necessary?
It’s the current recommendation from the RSPB, arrived at through an evidence review with the BTO and the Institute of Zoology. Given greenfinch numbers, it’s a reasonable ask.
What if I can’t move the feeder?
Do what you can — even shifting it a few metres helps. Where a bracket is fixed, at minimum clear the ground beneath thoroughly at each clean, and consider adding a second position to alternate between.
Does this apply to suet feeders too?
Yes, all feeder types. Suet leaves greasy residue that goes rancid, so cages need proper scrubbing rather than a rinse.
What about in winter when it’s freezing?
Still weekly. Use hot water and dry thoroughly indoors if needed — a feeder that freezes while damp will hold ice in the ports. Winter is when feeders are busiest, so hygiene matters most.
Related guides
- When to feed garden birds: the new UK guidance explained
- Sick birds at your feeder: spotting trichomonosis and what to do
- Types of bird feeder: which one should you actually buy?
- Why have the birds stopped coming to my feeder?
Sources: RSPB feeding and hygiene guidance (April 2026); British Trust for Ornithology seasonal feeding FAQs; Garden Wildlife Health.
Compare feeder brushes and bird-safe disinfectant at Amazon UK. Prices and stock change often, so it is worth checking before you commit.
Browse cleaning kit →